
To find the Attendance feature, go to your D2L Course Shell, then click on the “More Tools” link from the navigation bar. Next, click on “Attendance”.

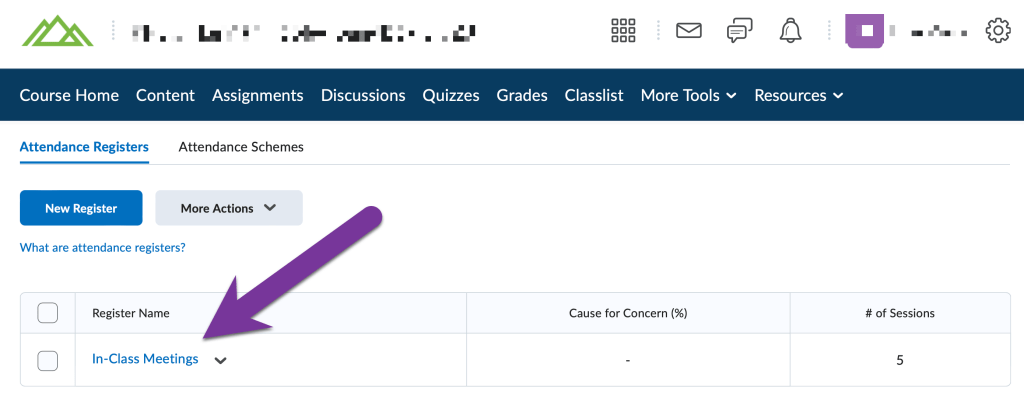
A register is the list of sessions you want to take attendance for. So, to start, click on on New Register:

Now, it’s time to fill in the name of the register (In-Class Meetings) and a Cause for Concern (%). When the concern number is hit, the student’s name will highlight in the register.

Then, it’s time for the long job, entering the dates into the register. The first three are ready for you now, but you’ll need to add more. In fact, for a 15 week term (30 class sessions), 27 more will need to be added. Some instructors like to add as they go. Others like to name it more generically (Week 1, Session 1, etc.) so they can copy from term to term. How you do it is up to you. Be sure to click Save when you are done.

Once the sessions are set up and the register ready to go, you can click on the name of the Register to take attendance:
When it’s time to mark your students absent or present, click on the calendar with the pencil icon to open that day’s register.

Finally, you select the status of the students and click Save.

NOTE: A (Absent) and P (Present) are the default scheme for attendance. If you want to add tardy, late and other options, a new attendance scheme must be created and linked to the register. This can be done on the page below:

Note: Attendance must be entered, any attendance that is not entered will simply appear blank.


You must be logged in to post a comment.