
Scheduling a Meeting #
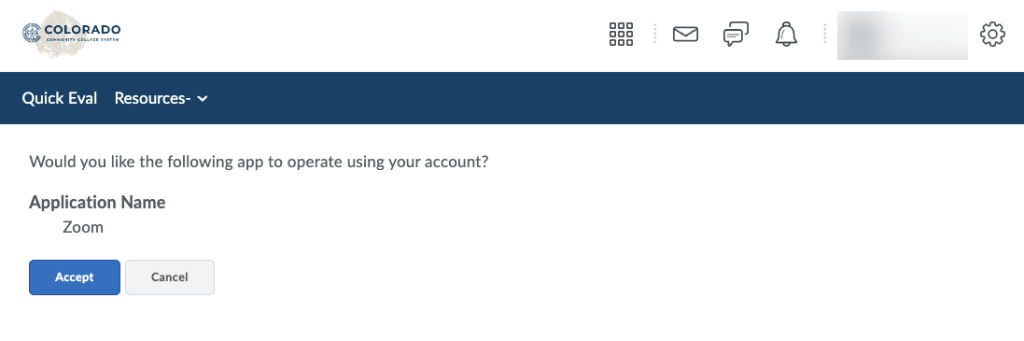
To schedule a meeting, click on More Tools on the course navigation bar. Scroll down the menu and select Zoom at the bottom of the list. The first time you open Zoom, you may get a warning message asking if you would like the following app to operate using your account. Click Accept.
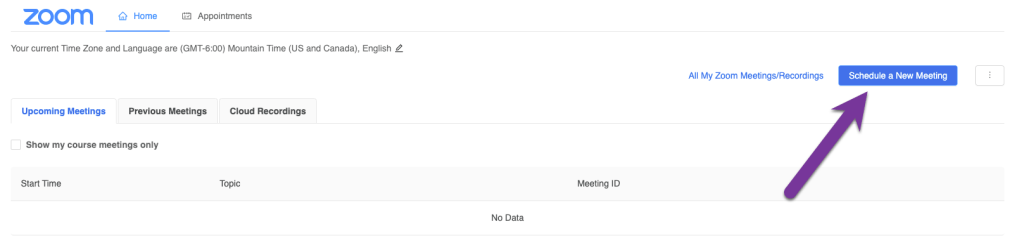
Once in the Meetings window, you can click on “Schedule a New Meeting” to open a form to create the meeting.
On the next screen, you’ll have a form with several fields and settings you can choose to have in your Zoom meeting.
- Topic: The meeting topic will automatically be filled in with the name of your course. You can edit this to be whatever you’d like.
- Description: You can choose to enter in additional information about the meeting into the description.
- When: Click on the date and time you plan on having the Zoom meeting.
- Duration: Enter in the duration of the meeting.
- Time Zone: Should auto-set to Mountain time, but you may need to change this if you are scheduling a meeting from a different time zone.
- Reoccurring meeting: Check this option if you’d like to have the same Zoom meeting link for multiple meetings throughout the semester. If you check this box, you’ll have the option to select the frequency of these meetings.
- Registration: This requires students to register for a Zoom meeting before they can attend the meeting. We do not recommend this option.
- Passcode: This requires students have a passcode before they can enter the meeting. If they enter the Zoom meeting via a link given to you by Zoom after you finish scheduling the meeting, this will allow them to enter without having to enter a passcode.
- Waiting Room: this has students enter a waiting room before the Zoom Meeting starts. You will have to manually let students into the meeting if you select this option.
- Video: You can select whether the Host (yourself) or Participants will have their Video automatically turn on when they join the meeting.
- Audio: We recommend allowing students to join via Telephone and Computer Audio.
- Enable join before host: This will allow students to start the Zoom meeting before you enter the meeting. If this option is left unchecked, students will receive a message that the “Host has not started the meeting” until you join the meeting.
- Mute participants upon entry: This will automatically mute students when they enter the Zoom meeting.
- Record the meeting automatically: This will automatically record the entire Zoom meeting.
- Alternative Hosts: If you have a co-instructor, you can enter in their emails here so that they will automatically have the same controls over the Zoom. meeting as you will.
Once you’ve filled out the form, click Save.

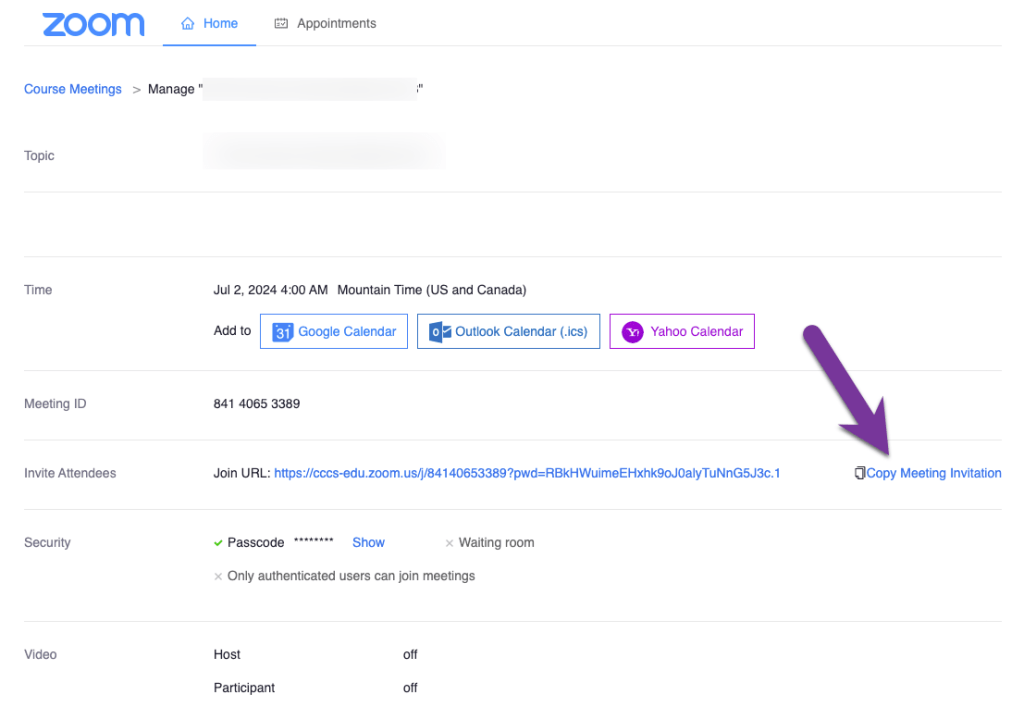
This will schedule the meeting and take you to the Zoom page with the link to the meeting or the registration link, if you chose that option. This link can be copy/pasted into MyCourses announcements, the MyCourses Calendar, D2L Internal Messages, or email if you’d like to share in more than one place. Alternatively, you can click on the “Copy Meeting Invitation” link to copy over all the details of the meeting (including ways students can listen to the audio via their phone if they run into technical issues).
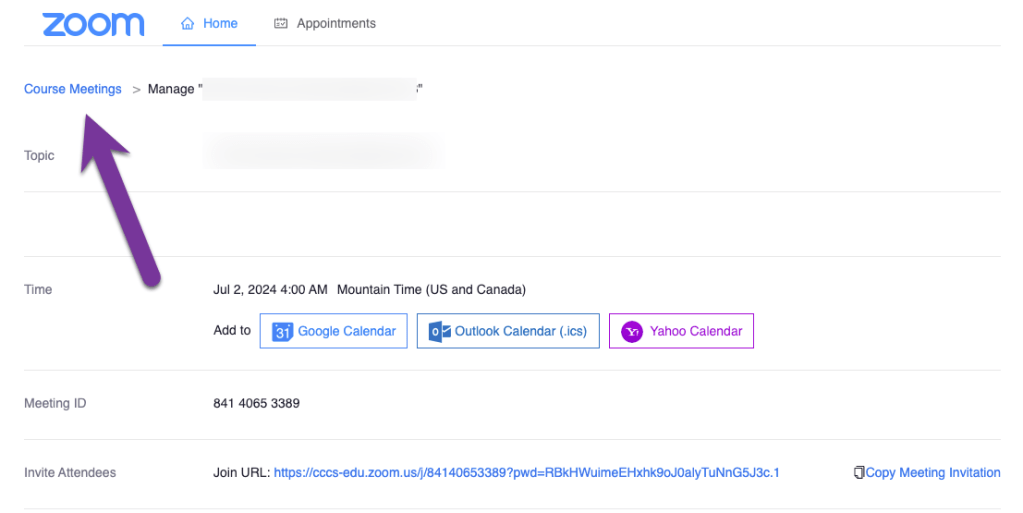
Click on “Course Meetings” to return to the homepage.
Starting a Meeting #
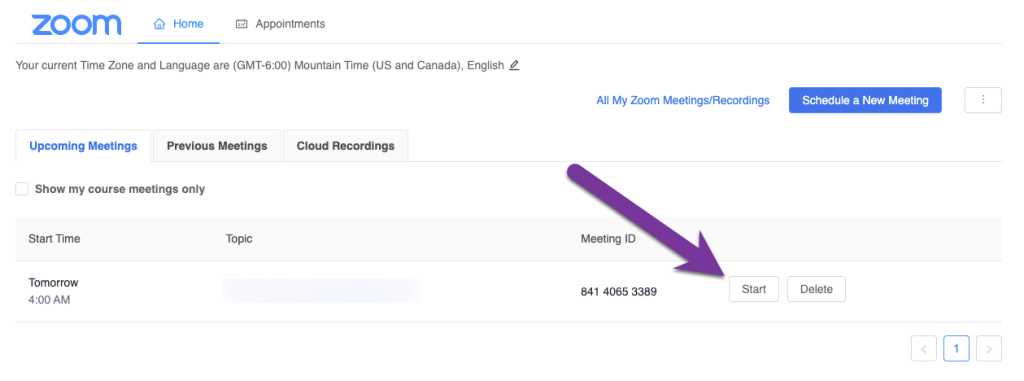
To start a meeting, go to your course and click on More Tools –> Zoom. You should see your meeting under your Upcoming Meetings. Click on the “Start” button to begin the meeting. Students will also be able to join via this method, though they will see an option to “Join” the meeting, rather than start it.
Students and Instructors can also login through a link and password retrieved from the Zoom meetings page and sent via an announcement, a calendar invite, Internal Messages tools, or via email.
Limitations #
- The Zoom link will appear under More Tools in all courses, even if the instructor chooses not to use the tool. Students will also see the tool on the More Tools menu though they cannot access the instructor’s Zoom account.
- Recordings are not shared between D2L and the Zoom tool. Instructors will need to copy/paste any recording links manually.
- For accessibility, it is highly recommended that all Zoom recordings be uploaded to Yuja and captioned BEFORE they are shared with others.
- There is no Office Hour feature to Zoom, like there is with WebEx.


You must be logged in to post a comment.